Thank you all for the kind comments on the kitchen remodel.
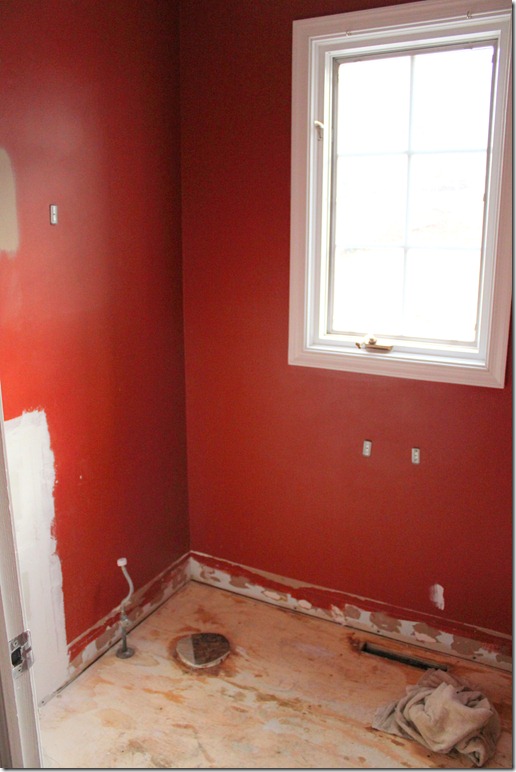
We remodeled the downstairs bathroom at the same time as the kitchen. The bathroom is to the right as soon as you walk into the house from the garage. It’s a larger bathroom compared to other half baths. But it wasn’t being utilized to it’s fullest potential. The door swung in and covered a large wall.
The solution? A sliding door attached to the outside of the wall.
Don’t judge the door yet. My husband found the door and new I would love it. But it needed ALOT of love to get where it is today. In this picture, we were trying it out to make sure it would work. This is the best “before” shot I got of the bathroom. I was so excited to start the remodel I forgot to get proper “before” shots.
During:
We found the tile from Home Depot. It was a great mix of beige’s with a little gray in there too. I wanted the bathroom more neutral color-wise so it would work with my ever changing decorating styles.
The color was custom oops color but worked perfectly with the new floor.
We matched the higher baseboards to the rest of the house. The decorative tile strip separates the tile from the hardwood.
Let’s talk about the gorgeous wood door.
The Front:
The Back:
What’s not to love about the details?
The door was old, filthy dirty, and had obviously been used for quite a while. I gave it a good scrubbing, sanding, and used Danish Oil to bring new life to the door.
Here it is hung on a metal sliding barn door track
It’s such a tight spot to try to photograph. It’s only about 3 feet from the door to the washer and dryer directly across when you walk in.
After:
The pedestal sink came from the Habit Restore for $50.You can see my post of the soap dispenser here. I hung towel at different heights so little hands can dry their own.
Framed finger paints from little man are displayed and a old wire basket give by a friend holds extra towels and toilet paper.
I kept the mirror. It was given to me by an ex co-worker for some design work I did for them.
A new light rounds out the new sink area
The valance I made from a mix of old lace, left over fabric from the baby shower and a napkin from Anthro I picked up back in May. I already had 2 teacup hooks screwed into the window frame so I laid a few curly willow branches in them and pinned the valance to them. Easy Peasy.
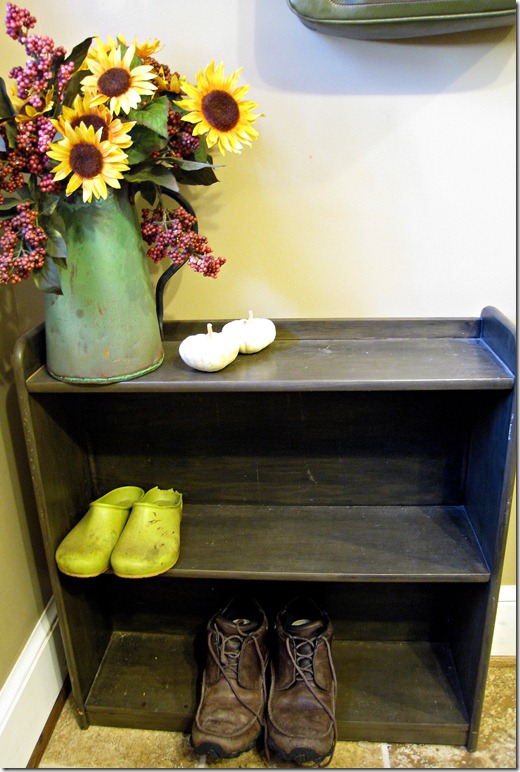
By removing the swinging door, we’ve opened up the bathroom and exposed the wall. My plan was to create a mini mudroom. Somewhere where we could hang our keys, bags, hats, etc.
A bookcase found on the curb keeps our shoes tidy
The mix of hooks where screwed to a leftover 2×4 I beat up and stained. And the antlers are from a deer my husband got a few years ago tied to a gold frame with fishing line and scrapbook paper taped to the back.
A hook for little man is on his level so he can hang his own coat up when we come home. The hook is from Anthro and the mount was made by me.
The bathroom is now a functional, organized space that we use everyday. We no longer ‘dump’ all our belongings onto the kitchen counters because we now have somewhere to put all of our things.
Before:
After:
So that concludes our little remodels. Has anyone else been remodeling lately? Changing your spaces up? Share them with me in the comment section! I’d love to see!
Have a fabulous day!
Sarah


Beautiful door! Looove it!
love the door, and the valance is such a great idea! Beautiful and functional, awesome 🙂
The door is fabulous! So envious. My brain quickly ran through all of the door frames in my house, wondering where I could find a use for a door like this!
OMG, beautiful redo… I am in love with that door!
Tania